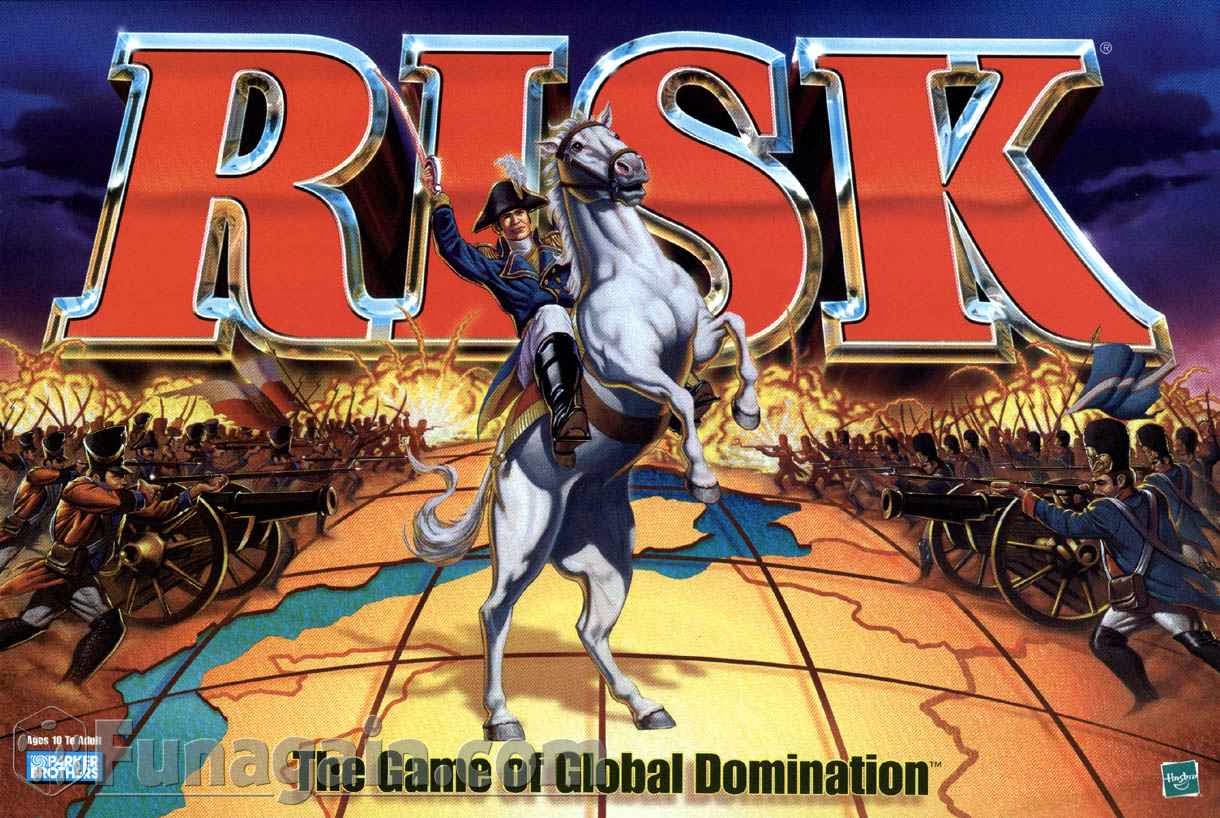
OK, so you know the purpose of this blog, if you have read my first short post. This post will detail how you, yes, you, can make a cheap miniature army using the figures from the Risk board game. Everybody and his brother has an old box of Risk somewhere. They currently go for anywhere from 5 to 20 dollars on Ebay. Even if you have to pay at the high end, you still get 360 or so figures for your army. Even at 20 dollars, it's a deal.
Image courtesy of Fun Again Games www.funagain.com
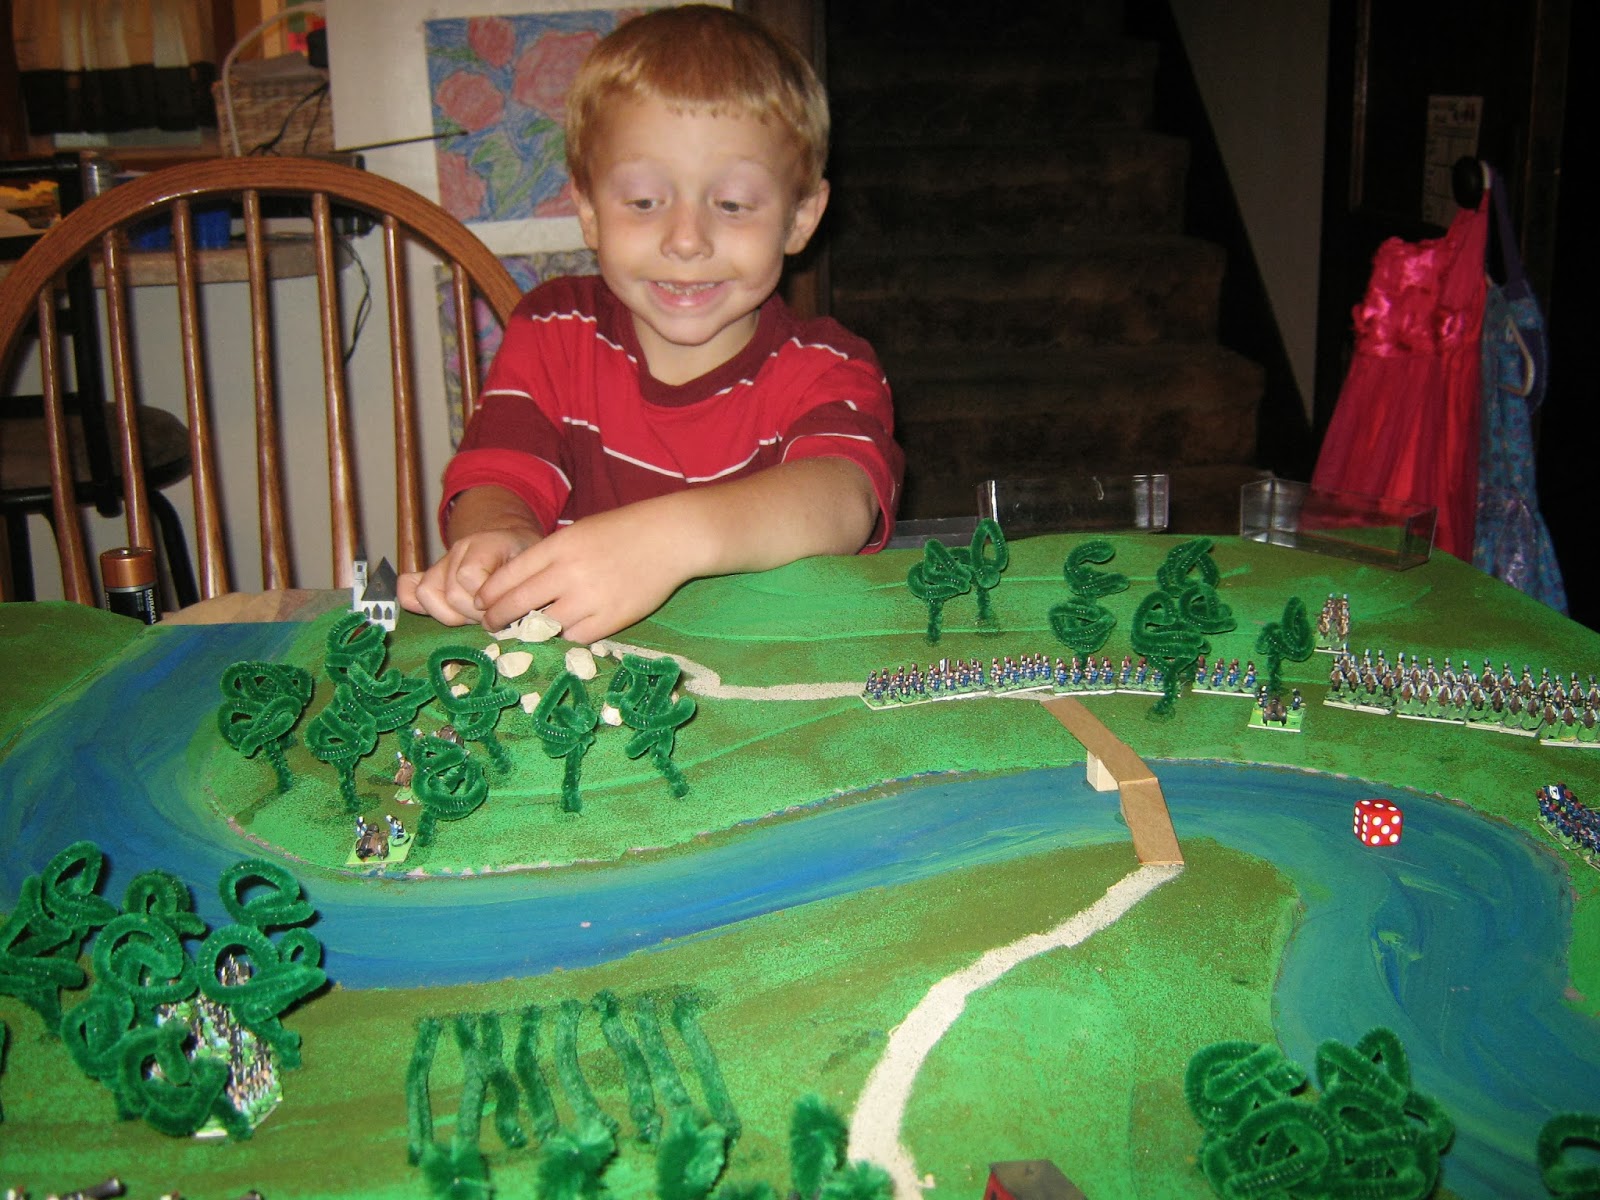
Of course some have called the quality of the castings into question. Sure, the fact that there are only one or two poses for each arm (infantry, cavalry, artillery), and the fact that detail is somewhat lacking may deter some die-hard wargamers. So what. I'll do what I like with my thousands of Risk miniatures, thank you very much. Even though most of the infantry figures are kneeling, I have been able to paint them in about thirty different and unique styles. Same goes for cavalry.
Image courtesy of Board Game Geek www.boardgamegeek.com
So, the question is, how did I paint all those plastic guys? Well, if that's what you're wondering, you asked the right question. The first thing to do is to "mod" some of the guys so they carry a flag for unit designation.
Image courtesy of the author...
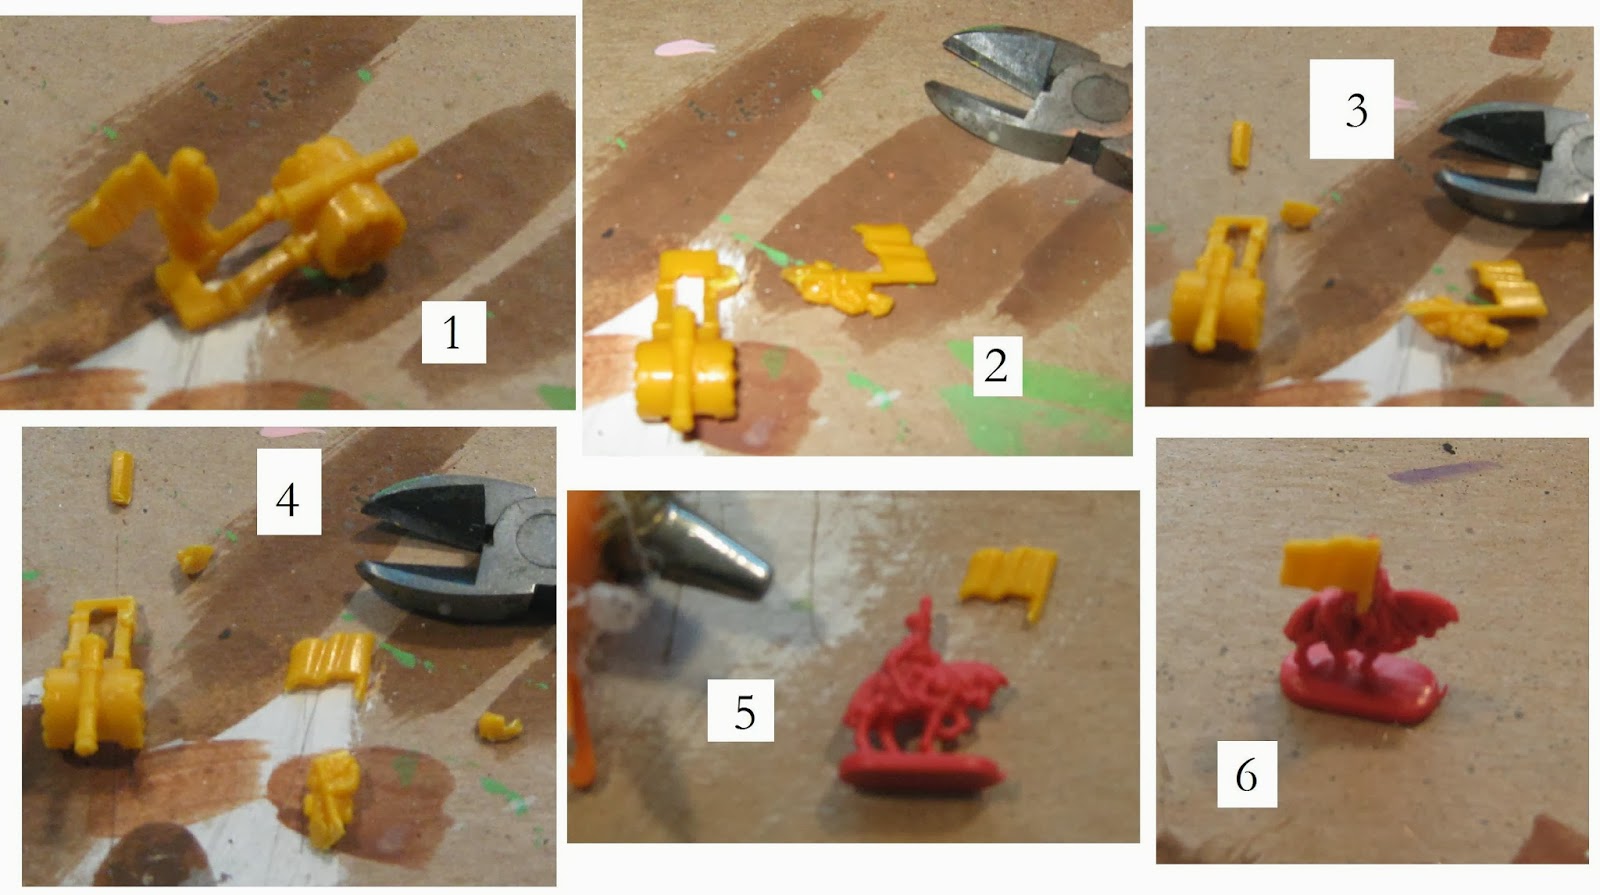
First, you use one of those artillery pieces from the 2003 version of Risk. Second, you cut the flag-bearing artillerist figure (?) away from the artillery piece. Third, you trim the man's feet away from the artillery piece. Set the artillery piece aside, it will be useful later. Fourth, you cut off the flag with the man's head. this gives you as much flagpole as possible. Fifth, you use a hot glue gun to glue the flag onto the cavalry soldier. Yes, you can use plastic glue or even sticky tack or "green stuff". I like using hot glue because it "dries" and adheres almost instantly. Sixth, you have a modded figure, ready for the next step -- priming!
Image courtesy of the author...
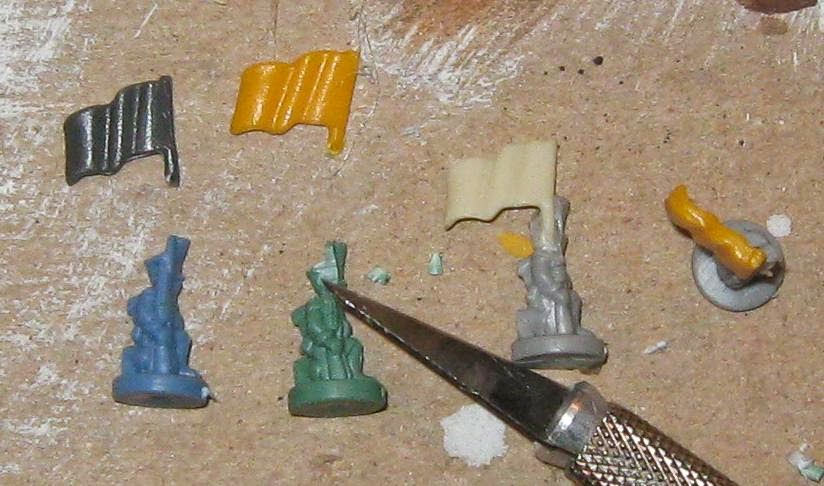
Adding flags to your infantry figures is relatively easy too. First, you take the normal infantry figure and shave off the top of the barrel of the musket and the bayonet. Then you simply glue the flag on top of the figure using your hot glue gun. Again, simple and effective, and ready for painting!
Image courtesy of the author...
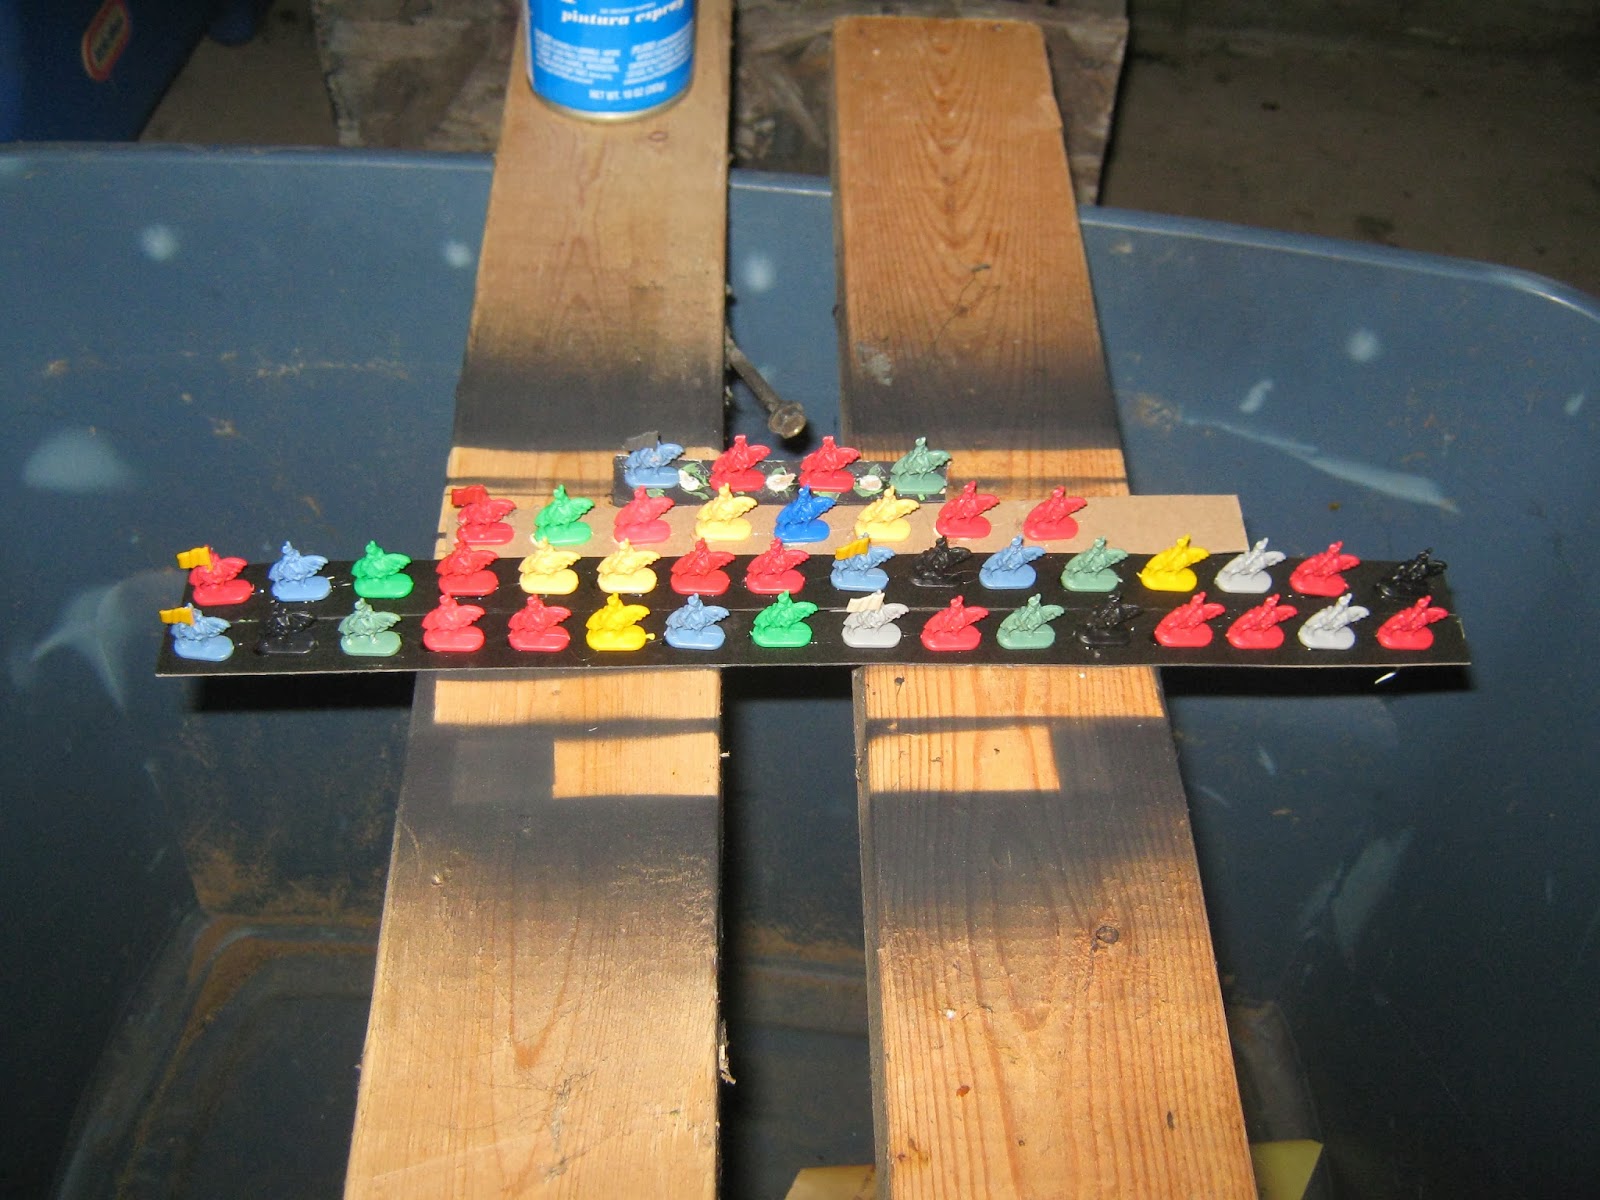
The first step in painting is to tack your figures to a cardboard strip using hot glue. This will allow you to paint the figures one after another without giving you a cramp in your finger as you try to hold the little miniature in your hand.
Image courtesy of the author...
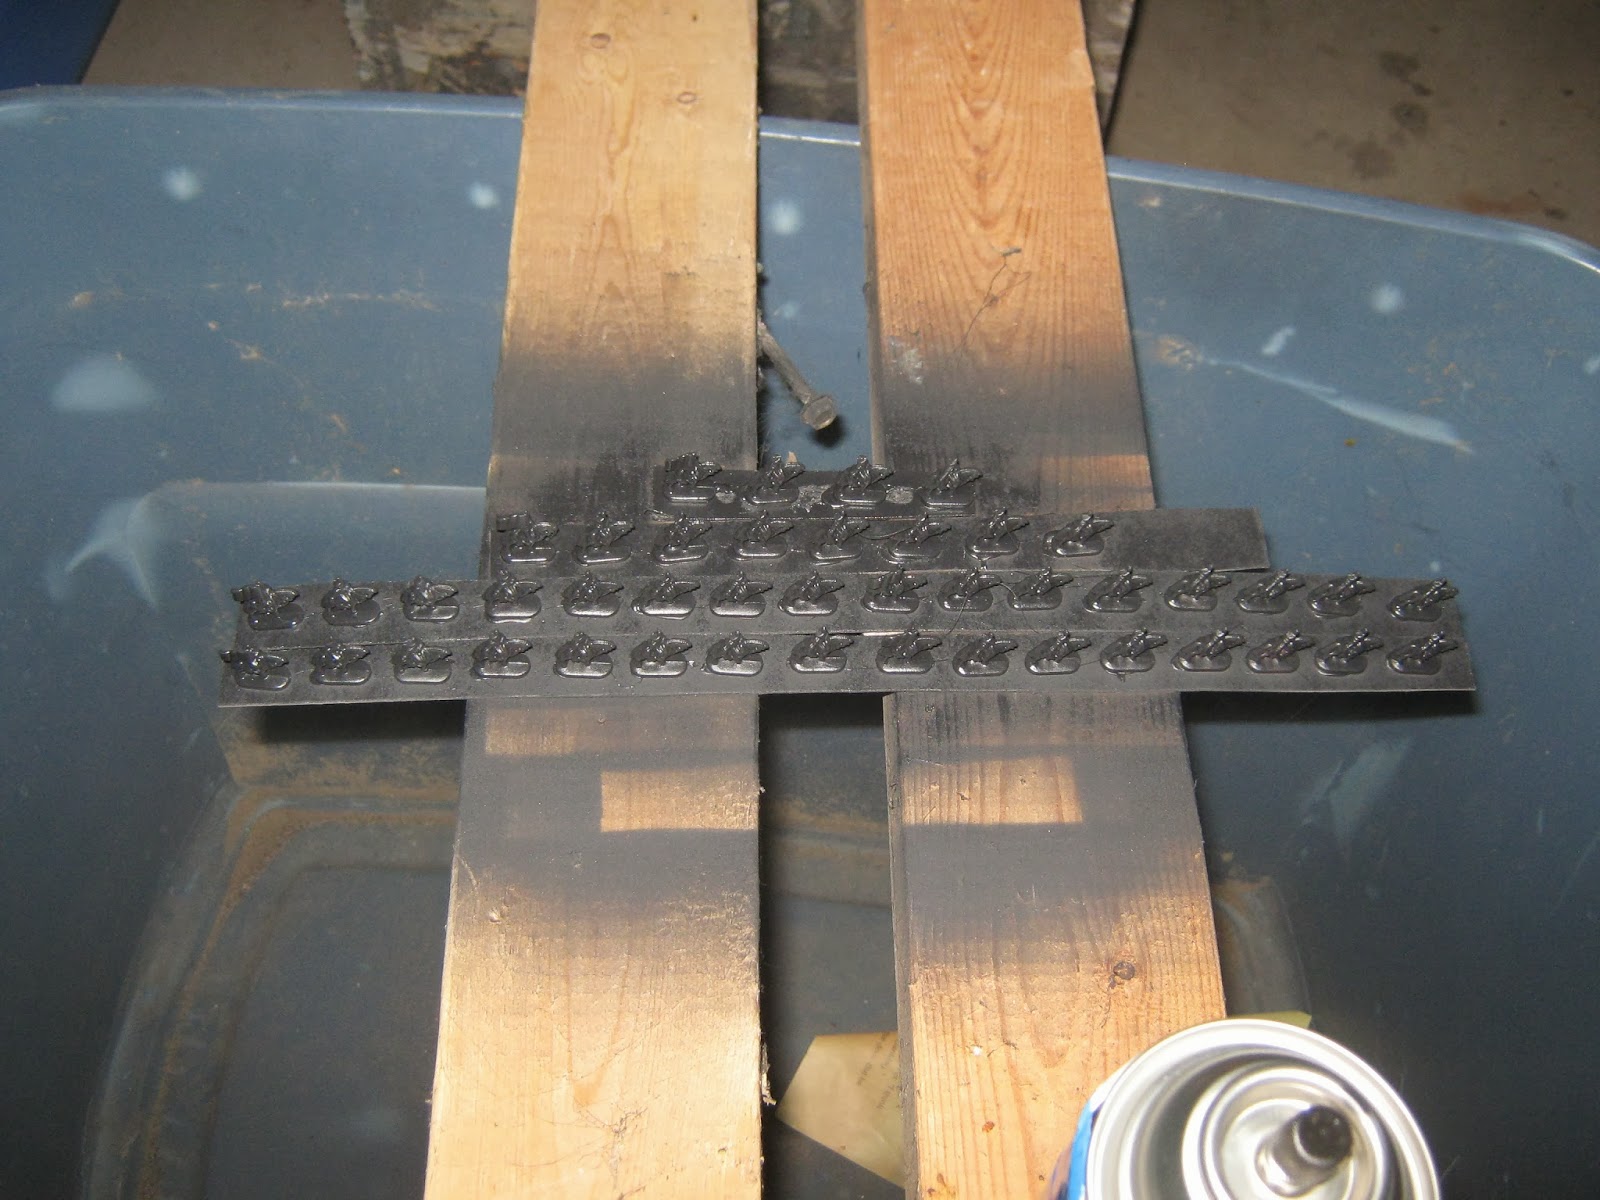
Second, take your strips out to the garage or some other well ventilated space and prepare to paint them with black spray paint.
Image courtesy of the author...
Now you will be able to start with a perfect black foundation for your soldiers. Some use white primer, I typically use regular black spray paint, and I have never really had a problem with it. I like using black because it is more forgiving. But that's for the next blog post... After the spray paint dries I'll show you what I do next!